
 -18" Roller covers with 3/8" nap
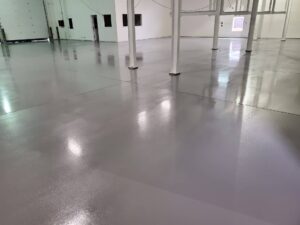
Ready to see a patio transformation? ✨ In this video, we’re showing you our complete process for applying a polyaspartic flake coating system to an outdoor concrete patio.
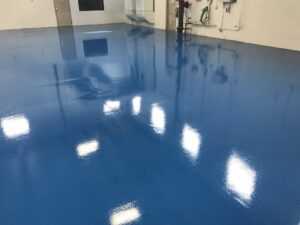
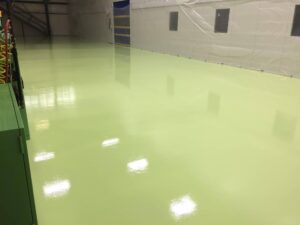
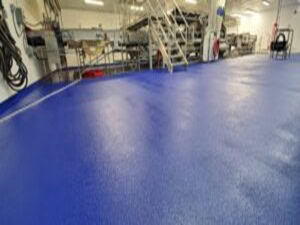
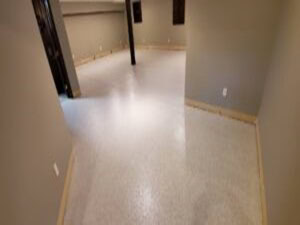
We use polyaspartic coatings for both the basecoat and topcoat. Why? Because they’re a game-changer for exterior projects! They offer the same incredible durability as epoxy coatings, but with two huge advantages:
They are UV stable, meaning they won’t yellow or degrade in the sun.
They cure in hours, not days, so the job can be completed quickly without leaving the concrete exposed to the elements.
This quick cure time is a major plus, but it also means the application process is fast-paced. It’s crucial to work in manageable sections to ensure a flawless finish.
It’s important to note that you should always check for vapor transmission before installing any floor coatings project. To test for vapor transmission you can check out our video here.. https://youtu.be/vb7CP4G89HQ
Watch now to see how we create a beautiful, long-lasting, and UV-stable outdoor surface that’s ready for anything!
CHAPTERS
0:00 Intro
1:08 Floor Prep
4:04 Basecoat & Flake Application
7:27 Top Coat Prep and Application
9:08 Outro
BASECOAT TOOLS USED
-Drill & Mix Paddle
-Mix Stick
-Mix Buckets (5 pint and 5 Quart)
-Chip Brushes
-Shoe Spikes
-Polyaspartic Basecoat & Pigment
-Flake (Staged in buckets before beginning)
-18″ Roller Frame
-18″ Roller covers with 3/8″ nap
-4″ Roller frame and roller cover
TOP COAT TOOLS USED
-Polyaspartic top coat
-Chip brushes
-18″ Roller Frame
-18″ Roller covers with 3/8″ nap
-4″ roller cover and frame
-Spiked Shoes
-Flat flexible floor squeegee
-Floor Scraper
-Leaf Blower
You can find our products and materials used by visiting – https://columbusepoxyproducts.com/
If you have any questions please leave a message in the comments section or reach out to our team.
Facebook and Instagram
@columbusepoxyproducts, @columbusepoxyflooring
#polyaspartic #howto #diyflooring