



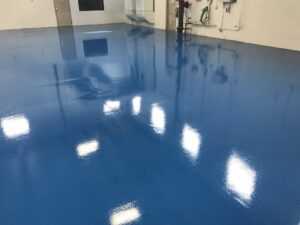

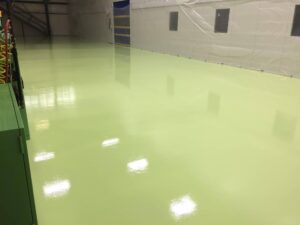
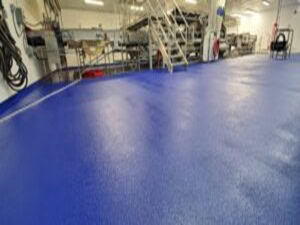
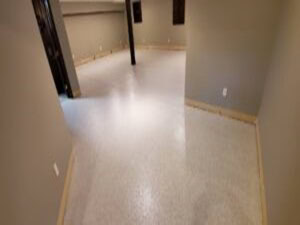
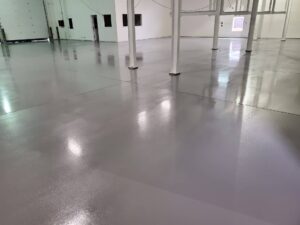

Master the art of the epoxy cove base with this comprehensive walkthrough from Columbus Epoxy Flooring!
An epoxy cove base is essential for creating a seamless, hygienic, and waterproof transition between your floor and wall. Whether you are working on a commercial kitchen, a industrial warehouse, or a high-end garage floor, getting the radius right is the difference between a amateur job and a professional finish.
In this video, we break down the entire cove base installation process, including:
* Surface Preparation: Ensuring the wall and floor are ready for bonding.
* Mixing the Mortar: How to get the perfect “sandcastle” consistency for troweling.
* Troweling Techniques: Using a cove tool to create a smooth, even 4-inch or 6-inch radius.
* Finishing Touches: How to handle inside and outside corners for a leak-proof seal.
Why install a cove base?
Integrating a cove base into your resin floor system eliminates 90-degree angles where dirt and bacteria collect, making your space much easier to clean and meet health department standards.
Get a Quote for Your Project:
Visit us at: https://columbusepoxyflooring.com/contact/
Serving Columbus, Ohio and surrounding areas.
Looking for guidance as a contractor to install these floors yourself?
Check out: https://columbusepoxyproducts.com/
– Intro 0:00
– Project overview 00:10
– DAY 1 Cove Prep 01:02
– Mixing the cove mortar for the right consistency 02:30
– Cove application 02:59
– DAY 2 Prime and patch 04:55
– DAY 3 Basecoat and broadcast 05:46
– DAY 4 Final top coat 06:49
CONNECT WITH US!
Instagram: https://www.instagram.com/columbusepoxyflooring/
Facebook: https://www.facebook.com/ColumbusEpoxyFlooring/
#EpoxyFlooring #CoveBase #FlooringInstallation #ConstructionTips #ColumbusEpoxy #CommercialFlooring #GarageRenovation #DIYFlooring #ResinFloors